With GitHub Co-Pilot attracting every new developers and marketers, Let's learn about how to use GitHub and do a pull request from an occurring repository using a VS Code.

If you have are new to GitHub, I request you to follow each and every point. If you have already pulled a repo from GitHub, skip the first two sections and jump to the third one
LISTS WE ARE GOING TO DISCUSS HERE
- Two Factor Authentication
- Personal Access Tokens
- Steps to Pull request a repository
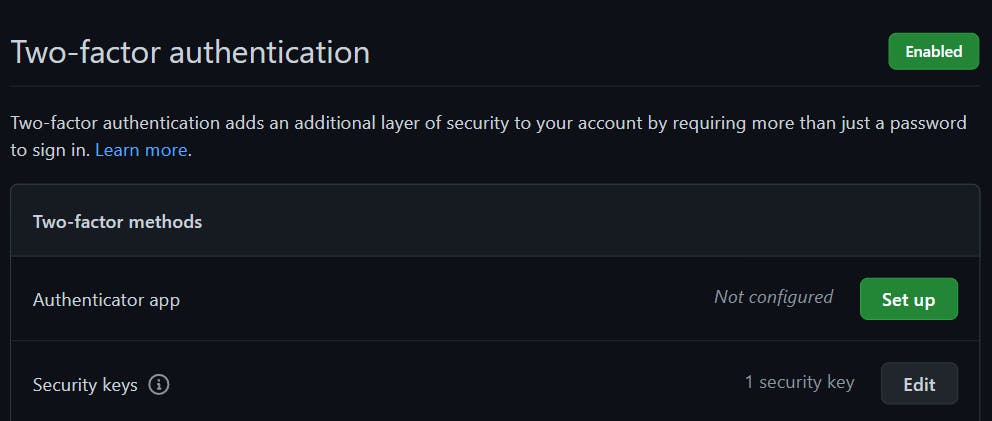
TWO FACTOR AUTHENTICATION
- Go to your security under your settings
- Under “Two-factor authentication”, click Enable two-factor authentication.
- On the Two-factor authentication page, click Set up using an app.
- Save your recovery codes and do either of the below mentioned steps
a) Scan the QR code with your mobile device’s app. After scanning, the app displays a six-digit code that you can enter on GitHub. b) If you can’t scan the QR code, click enter this text code to see a code you can copy and manually enter on GitHub instead - Enter the code, 2FA will be enabled
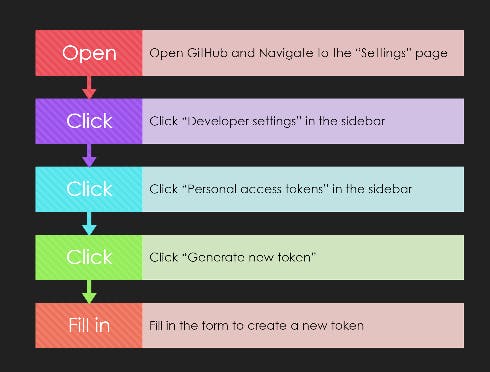
PERSONAL ACCESS TOKENS
STEPS TO PULL A REPO FROM GITHUB
a) Cloning a Repo using terminal
 1. Enter the command "git clone url"
            a) Enter your login user name
            b) Enter the Personal access Token in password which we created before Personal Access Token will act as a password for 2FA accounts

b) GitHub Branch creation
  1. Enter the command “git branch” and confirm if its master
  2. Now create a new branch “git branch new_branch_name”
                      EX: git branch project2
  3. Enter the command “git branch” again and confirm if you can see the new name
  4. Enter “git checkout new_branch_name” and enter git status.
c) Pushing Repo to GitHub
1. Enter into the directory where you want to paste the file or a directory and paste the file
2. Now enter “git status” and confirm if it shows the added file or directory path
3. Copy the path where you added the file or directory and enter
4. Next add the path to git – command “ git add “New path” and enter
                    Example: “git add projects/project1”
5. Enter “git status” and confirm if the files are added
d) GitHub pushing to a repository
1. Now commit it by entering “git commit –m any_message”
                                             Ex: git commit –m “for_loop_change”
2. Now push in Git by “git push origin new_branch_name” (Name which we created in S6)
3. Now enter “git checkout master” and re-check the git status, it should be “master”
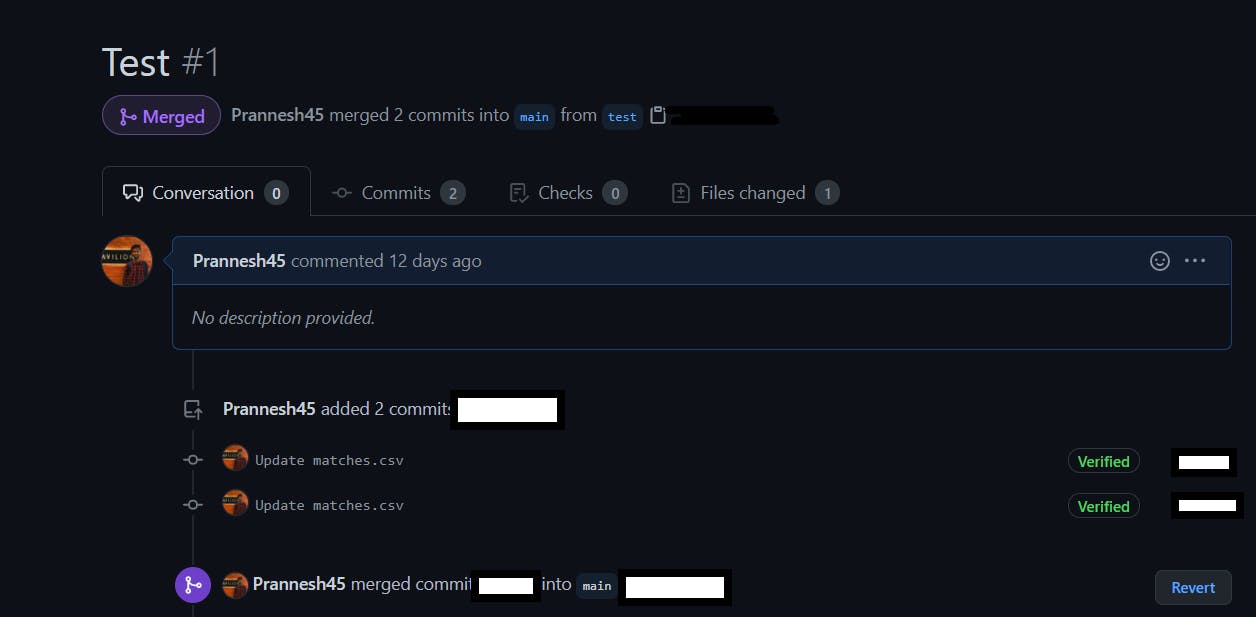
e) Accepting Pull Request and Conclusion Steps
1. Go to github.com, login and the directory where you added the file or directory
2. Select the option “Pull Request” from that directory and press Enter.
3. Mail to repo owner and confirm the PULL REQUEST
4. After confirming the “PULL REQUEST”, enter the directory in github.com where you added
5. Select “Pull Request” and enter the option “Commit” and add a comment.
6. Your File or Folder is added
7. Delete the new_branch created before by entering “git branch –d “new_name”
FINAL OUPUT AFTER ACCEPTING REPO